REVIEW · VANCOUVER
Photography, Hiking & Ferry to Bowen Island
Book on Viator →Operated by Nature PhotoHikes · Bookable on Viator
A ferry ride and photo lessons in one day. This Bowen Island outing blends a small-group hike with a pro photographer and Howe Sound views.
I especially like the one-on-one instruction (you get time to ask questions, not just follow along), plus the chance to borrow a DSLR from your guide. One thing to plan for: the hike time can feel shorter on some days, so if you want a long ramble, pack your patience and go with the flow.
On the island, you’ll get a walk through old-growth forest scenery, plus chances for waterfalls and wildlife sightings like seals at the ferry dock. The guide I saw named in feedback, Nafees, comes across as upbeat and practical, and he also takes complimentary photos of you along the way. My only caution is simple: this runs in all weather, so wear gear that can handle damp and changing light without stressing you out.
In This Review
- Quick highlights
- Price and logistics that actually matter for your day
- The small-group cap (max 6) and why it changes everything
- Getting to Horseshoe Bay: start smart, not frantic
- The ferry to Bowen Island: the real warm-up for your camera
- Snug Cove and the Bowen Island Visitor Centre: where you reset your eye
- The Killarney Lake area hike: old-growth forest, waterfalls, and wildlife odds
- How the photo coaching works for both DSLR and iPhone
- Fall timing: why the leaves and light make this route special
- What to bring so the day feels easy instead of annoying
- Complimentary photos: an underrated part of the experience
- When this tour is the right fit for you
- A possible drawback to keep in mind
- Should you book this Bowen Island Photography, Hiking & Ferry tour?
Quick highlights
- Small group (max 6) means more hands-on help and fewer “photo rules” you can’t ask about
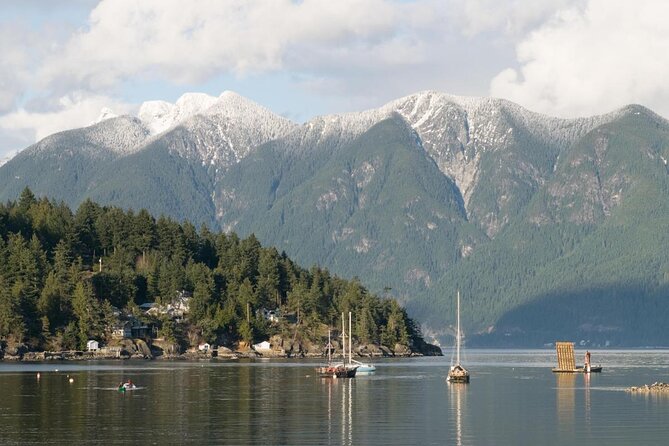
- Ferry ride from Horseshoe Bay gives you big picture views before you even start hiking
- DSLR borrowing makes it easier to try better camera settings without hauling your own gear
- Old-growth forest + waterfalls vibe fits the Bowen Island nature mood, especially in fall
- Complimentary photos so you leave with both your shots and a few keeper images from the guide
Price and logistics that actually matter for your day
At $133.61 per person for about 6 hours, this isn’t a budget “just ride along” trip. The value comes from what’s included: transportation plus the ferry, a guided hike, and a pro photographer who helps you shoot better. You’re also not paying extra for a DSLR trial, since you can borrow one.
What makes the price feel more fair is the combo. You get (1) the ferry ride, which is already a scenic event, (2) a hike with nature sights, and (3) real photo coaching geared to the way you’re actually shooting, whether it’s a phone or a camera with more manual control.
Food and drinks are not included, so you’ll want to bring snacks and water. If you skip that, you may end up spending time thinking about lunch instead of focusing on the light and composition. The good news: it’s designed so you can still move at a comfortable pace, with instruction built in rather than tacked on.
You can also read our reviews of more tours and experiences in Vancouver.
The small-group cap (max 6) and why it changes everything
A maximum group size of 6 is a big deal on a photography tour. When the group is tiny, your guide can slow down for individuals, notice who’s stuck on shutter speed vs. focus, and actually correct your framing. In a larger group, you often get one quick instruction and then a scramble to catch up.
This format also helps you feel less self-conscious about taking photos in nature. If you want to wait for light to shift or want to ask one more question about keeping horizons level, you’ll have time. The tour is also offered in English and includes a professional photographer guide, so you’re not stuck translating your camera problems into gestures.
If you’re traveling solo, the small size can be a plus. If you’re part of a couple or friends group, it can still work well because the guide can tailor instruction without turning the day into a rigid class.
Getting to Horseshoe Bay: start smart, not frantic
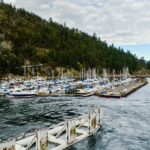
The tour starts at 10:00 am. Your meeting point is WB W Georgia St at Granville St in Vancouver, and pickup is available from downtown hotels or the Hyatt, plus the starting point.
Here’s what I’d do to keep the day stress-free: show up early enough to handle transit, locate the ferry area, and still have a quick moment to check your camera battery and lens cover. If you bring a phone, bring it charged and ready too. The ferry ride gives you views fast, and you’ll want to be ready without rushing.
Because it ends back at the meeting point, your day stays simple. You’re not stuck arranging your own transport on Bowen Island or figuring out how to get back across the water.
The ferry to Bowen Island: the real warm-up for your camera
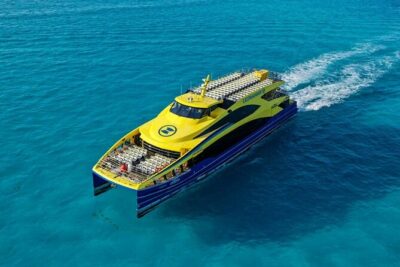
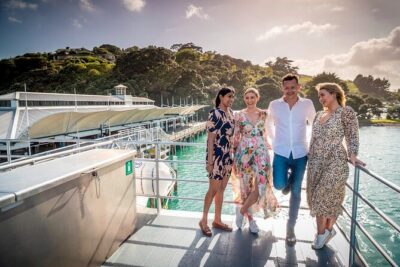
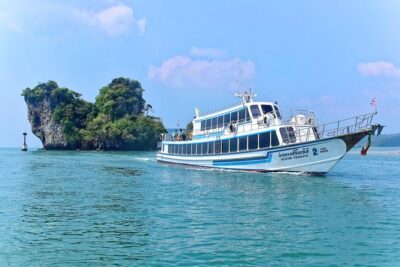
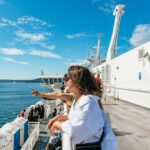
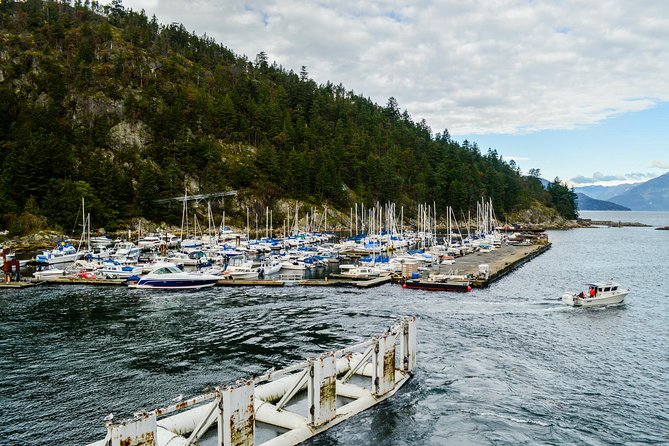
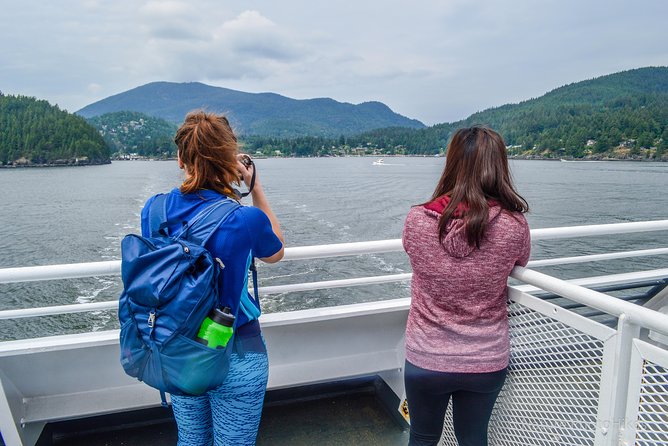
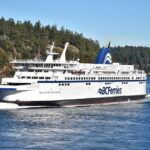
Stop 1 is the Horseshoe Bay Ferry Terminal, and then you ride the BC Ferries route to Bowen Island (Snug Cove). This is not just “getting there.” The ferry ride is part of the show: it’s your first chance at dramatic scenery over Howe Sound, plus moving views that teach you how to adapt your framing.
For photography, the ferry teaches a few useful habits. You learn to anticipate where the best view will be next, and you practice shooting quickly because the scenery changes while the boat keeps moving. If you’re new to photography, this is also a low-pressure place to experiment.
It also helps physically. Before hiking, you get that gentle “nature reset” while you’re still seated. You’ll arrive on Bowen Island with your eyes already calibrated for contrast, weather light, and the way trees and mountains layer in the distance.
Snug Cove and the Bowen Island Visitor Centre: where you reset your eye
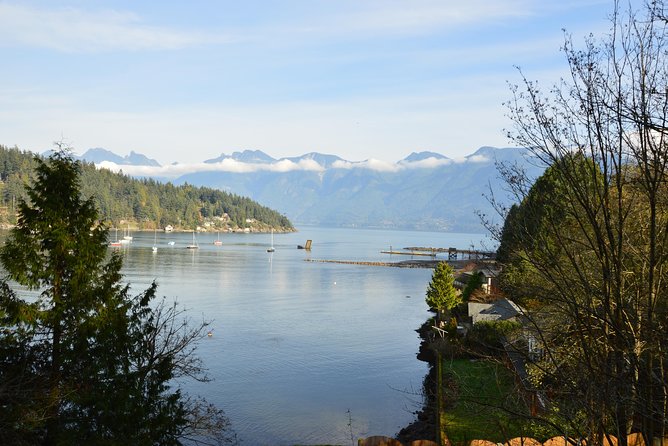
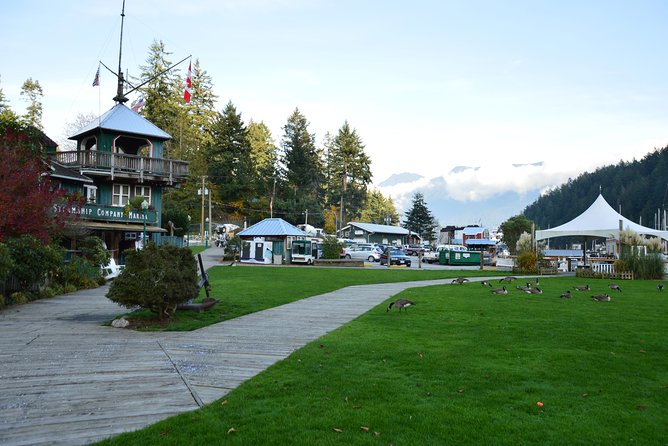
After you step off the ferry at the BC Ferries Bowen Island Snug Cove Terminal, you’ll head toward the Bowen Island Visitor Centre. This section is useful because it’s a transition. You go from open water and bright views to forest edges and creek-side scenes.
Think of this as your chance to recalibrate. Use it to check your gear, clean a smudged lens, and decide what you want to focus on for the hike: texture in bark, wet leaves, waterfall movement, or wildlife you might spot along the way.
It’s also where the day starts to feel like Bowen Island rather than just the ferry trip. The island is described as peaceful and it’s home to galleries and shops. Even if you don’t go deep into shopping, knowing that the visitor area is there gives you options if you want a brief browse between photo stops or a place to rest your legs for a few minutes.

The Killarney Lake area hike: old-growth forest, waterfalls, and wildlife odds
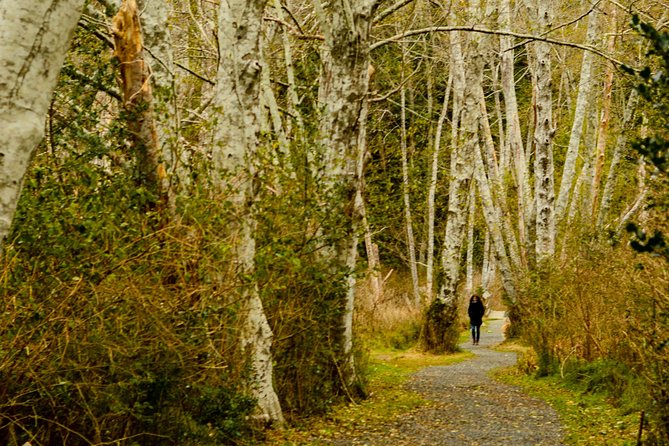
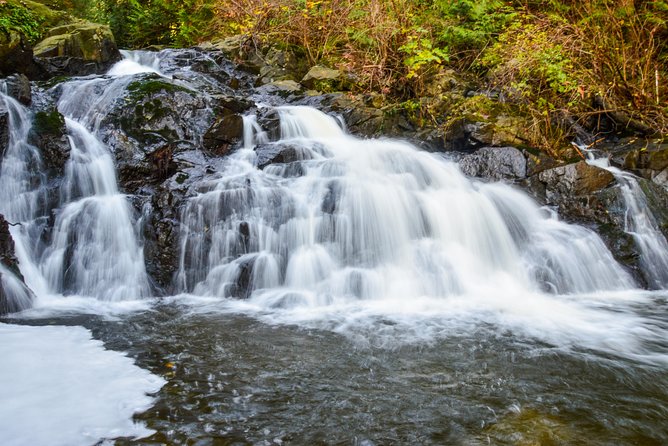
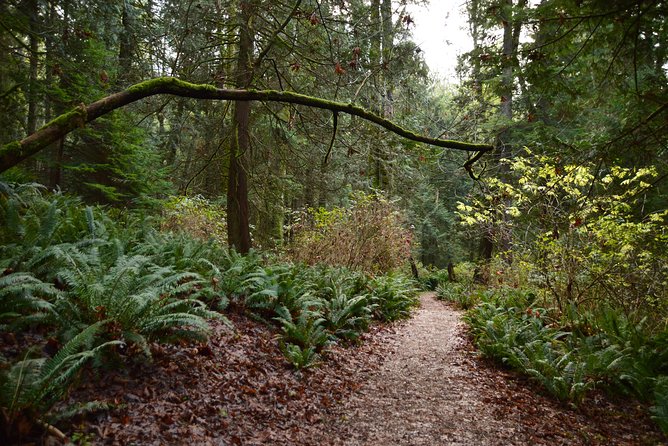
One of the key stops is Killarney Lake Parking, and that’s where the hike vibe really kicks in. Expect a walking route through old-growth forest settings, with the tour description pointing to waterfalls and wildlife.
This is the part of the day where your camera skills matter most, because you’re moving through different lighting: shaded forest, brighter openings, and wet surfaces that catch light. If you’re working with a phone, you’ll still benefit from coaching on simple adjustments like exposure and how to keep your subject sharp.
If you’re using a DSLR, this is where you’ll likely ask questions. The guide can help you use settings appropriate for trees, water movement, and depth—without turning it into a lecture. The best sessions here are when you stop, shoot, get feedback, and then try again immediately.
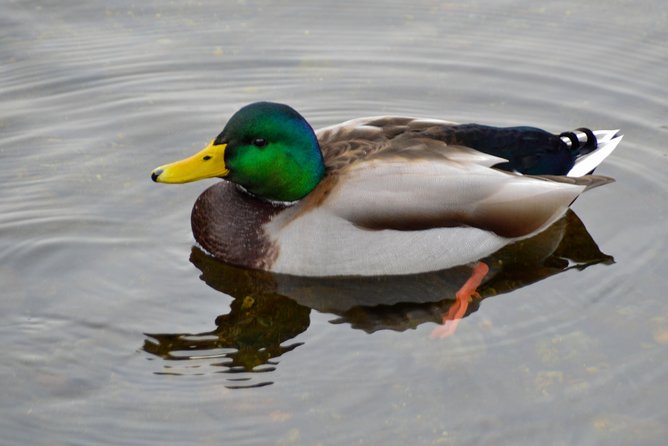
And yes, wildlife comes into play. Based on what’s been shared, seals have been spotted at the ferry dock and also around the island, which is a nice reminder that your “forest day” can include unexpected moments.
How the photo coaching works for both DSLR and iPhone
The tour is designed for all levels, and you don’t need to already know camera terms. The big advantage is time: a small group and a professional photographer means you can get instructions you can actually use on the spot.
Here’s what the day’s structure tends to support:
- You’ll shoot in a spot, then get feedback right away
- You’ll practice basic nature/photo settings whether you’re using a DSLR or your phone
- You’ll learn approaches to composition so your photos look intentional, not accidental
DSLR borrowing is a standout detail. Not everyone wants to carry heavy gear around Vancouver for a day. If you can borrow equipment, you can test a more capable camera experience without the stress of transporting and troubleshooting your own setup.
In the feedback I saw, the guide named Nafees is praised for teaching in a way that works for both bigger cameras and phones. That matters because many “photo tours” assume you already speak camera. Here, the guidance is more practical: you should be able to leave with habits you can apply later when you’re just sightseeing.
Fall timing: why the leaves and light make this route special
This tour highlights fall colors and fallen leaves, which is a real seasonal advantage. In autumn, the forest scenes change quickly: browns and golds mix with darker greens, and the ground becomes a texture layer underfoot.
Fallen leaves also help your photography because they add foreground interest and natural color contrast. You can use them to build depth in a frame: near leaves, mid trees, far water or mountain haze.
Weather is part of the deal. The tour operates in all weather, so you’re not guaranteed sunshine. But that’s also why it can be a good fall outing: misty conditions can bring out detail in bark, and wet surfaces can make your photos feel richer.
You’ll enjoy this most if you’re flexible. The people who love it are the ones who treat it like a nature walk with coaching, not a guarantee of clear skies.
What to bring so the day feels easy instead of annoying
The tour provides details on what to wear and bring, but the essentials are simple. Bring comfortable shoes because you’re walking through forest paths and changing terrain. Dress for the weather since it runs in all conditions.
Also pack:
- water and snacks (food and drinks aren’t included)
- a layer you can add or remove as conditions shift
- a camera strap or secure carry method so you’re not fiddling the whole time
If you’re borrowing a DSLR, still handle your own basic prep: keep your battery charged and your memory card or phone storage ready. Even if the guide is driving the teaching, you’ll get more practice time if you’re ready at each stop.
Complimentary photos: an underrated part of the experience
A big selling point is that your guide will take complimentary photos and send them at the end of the tour. This is helpful for two reasons.
First, it solves a common vacation problem: it’s hard to get photos of yourself while everyone else is busy shooting. If the guide is taking portraits and group shots at the best spots, you get images you might not have been able to capture on your own.
Second, it gives you reference shots to learn from. If you’re practicing composition, it’s easier to understand what works when you can compare your attempts to a few keeper examples from the pro.
The tour also includes a photoshoot segment, so you should expect some guided posing moments. For many people, that takes the pressure off and keeps the day moving smoothly.
When this tour is the right fit for you
This is a good match if you want a scenic day with structure but not rigidity. You’ll like it if you care about photography or you want better photos without turning your trip into a gear test.
You’ll also enjoy it if you’re comfortable walking and want nature time in a smaller setting. It’s not described as a marathon, and the focus is on enjoying the spots while learning.
If you’re the type who likes quiet nature and appreciates forests, water, and wildlife chances, you’ll likely feel at home here. Bowen Island is described as peaceful, and the route is built around that calmer pace.
A possible drawback to keep in mind
One concern that comes up in feedback is that the total time can feel shorter than expected on certain days, and the pacing can seem rushed for people who wanted a longer hike. That doesn’t mean the day will be chaotic, but it does mean you shouldn’t rely on “hours and hours” of unstructured wandering.
Go in with the mindset of practice. If you treat each stop as a chance to shoot, learn, and move, you’ll usually end up happy. If you want long stops for wandering, bring your own plan for a bit of extra time on Bowen Island when you arrive, if the schedule allows.
Should you book this Bowen Island Photography, Hiking & Ferry tour?
I’d book it if you want three things in one day: the ferry scenery, a real forest walk, and photo instruction that works for both DSLR and phones. The small group size and the option to borrow a DSLR make it feel more approachable than many gear-heavy tours.
Skip it only if you’re set on a long, slow hike with lots of independent wandering. Also, come prepared for weather. This one works best when you dress smart and treat the day like a flexible outdoor photography outing, not a guarantee of perfect conditions.
If that sounds like your style, this tour is an efficient way to get far out into nature from Vancouver without turning your day into complicated logistics.